Showing posts with label renovations. Show all posts

Thursday, 15 November 2012

We built a pizza oven!

One of the things we've been very busy with at our house has been the pizza oven project.  Well it is finished!  Hooray! 
Pouncy thinks he makes a lovely addition to the oven.
It was a great project.  We learnt a lot of new skills and ended up with something that we love to look at and is functional too.  But we're certainly no experts, so I'm not giving a tutorial or anything like that.  But here is our pizza oven story.  Feel free to ask any questions.

Step one was to build the plinth or base for the oven.  We had an existing concrete slab, so we levelled that and built on top.  We used besser blocks for our base.  Can I just say - besser blocks are damn heavy!  And having never laid any bricks before, this was a steep learning curve for us.  But despite our lack of experience and the damn rain, it got done and we were even able to make a fancy arch at the front using recycled bricks and pieces of bluestone that were found on our block (they were from the original school building that used to be here).  It was so exciting when we pulled out the form work and the arch stayed in place.  A thing of true beauty that we just kept gazing at.  Oh, and we tested the safety of it by letting Hurley walk under it ;)

We then had to make a top for the plinth.  We used a piece of cement sheet, held up up with more besser blocks underneath.  We laid a surround of recycled bricks, held them together with some wood and trailer ties (true professionals I tell you!) and then poured a 5cm thick re-inforced concrete slab on top.  Onto this, we smashed a pile of bottles and lay the broken glass and then filled up with sand.  This is supposed to help with insulation.  Onto the sand we added a layer of clay pavers.  Then we tested the safety of this by standing our children on the top hehehe.

 
The next step was so exciting as we were actually building the oven, several weeks after starting!  We made a guide for building the dome, then I built another arch for the door.  The rain kept coming and the tarp was well used.  Finally, Stu built a great big sandcastle, I mean sand dome mold, and the kids played in the sand pile. 

 And then we built the oven.  We used about 60 recycled bricks that had been broken in half.  Just an aside here, the work involved in removing mortar from reclaimed bricks and then breaking them in half is back breaking and really rather unpleasant.  The bricks built up quite quickly, with this step and the next being completed in a day.  We put in our stainless steel flue at this point too, nestling the bricks tightly around it to hold it in place.

To finish off the oven, we used a layer of insulation batts and covered them with a mud mix that we'd put rather a lot of oxide into.  It looked rather too much like chocolate cake mix and I spent the whole time we were doing this bit singing the Crowded House song about chocolate cake (very annoying!).  We ended up using two barrow loads of this mud/concrete mix to get a good coverage.

 Finally, we were done!  We left it for a few days for the mortar to dry and then the only thing left was to pull out the sand.  The kids had a great time doing this and it was lovely to reveal the inside of the oven.  We christened it with a small fire and a curry cooked in it.  It was delicious!

And then, finally, we cooked pizzas in it for the boys birthday party.  Stu is master pizza oven man, and did a great job.  But we discovered we needed to burn a bigger, hotter fire, for longer before we try these again.  Probably also wasn't a great idea to try cooking pizzas for the first time with 22 hungry mouths to feed..... oops!  But it was fun anyway and we plied them with home brewed beer and ginger beer while they waited.

All up, it was a fabulously fun project and for about $500 and many, many hours of hard work, we have something pretty special in our garden.

PS. sorry the pics end up a bit tiny - there were just too many to make them big! :)

Friday, 27 July 2012

12 months of Greening - March - Recycle, Repurpose, Restore

Time for another back track post about our six months of greening (before this month is over....).

March was the big month of renovating our kitchen, so it seemed apt to set this as our recycling and repurposing month.  Repurposing or upcycling items saves on landfill and also on the energy used to produce brand new materials and items.  It is also a great way to save money and create unique items that have character and charm.  We recycle and repurpose things a lot, and we wanted to set it as a theme in our kitchen.

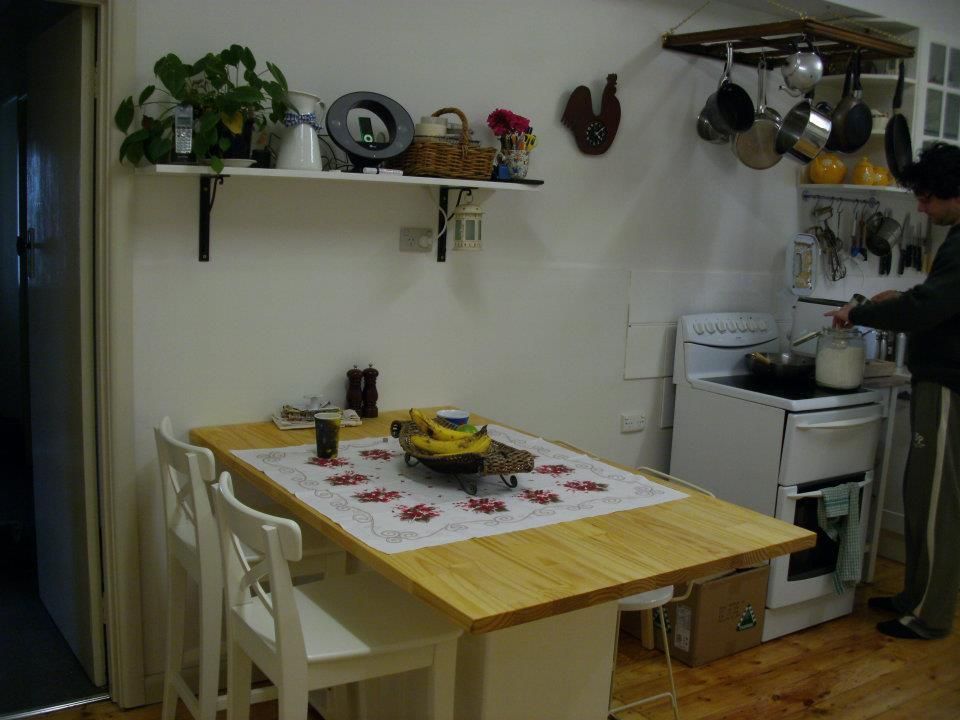
We had done a lot of research into our kitchen design, and threw out a lot of plans that would need significant work that we couldn't do ourselves, and also designs that were all new.  It had to be recycled and it had to be on a budget, but it also had to be practical and stylish with the following list of must haves - a dishwasher, a comfortable place for the family to sit and eat, a pot rack and a plate rack.  In the end I think less than half of the items in the kitchen were new, and these we built ourselves as much as possible.  The finished results were even better than we could have hoped for.  These are some of the recycled and repurposed things that we included in our kitchen (the photos were taken throughout the renovations).

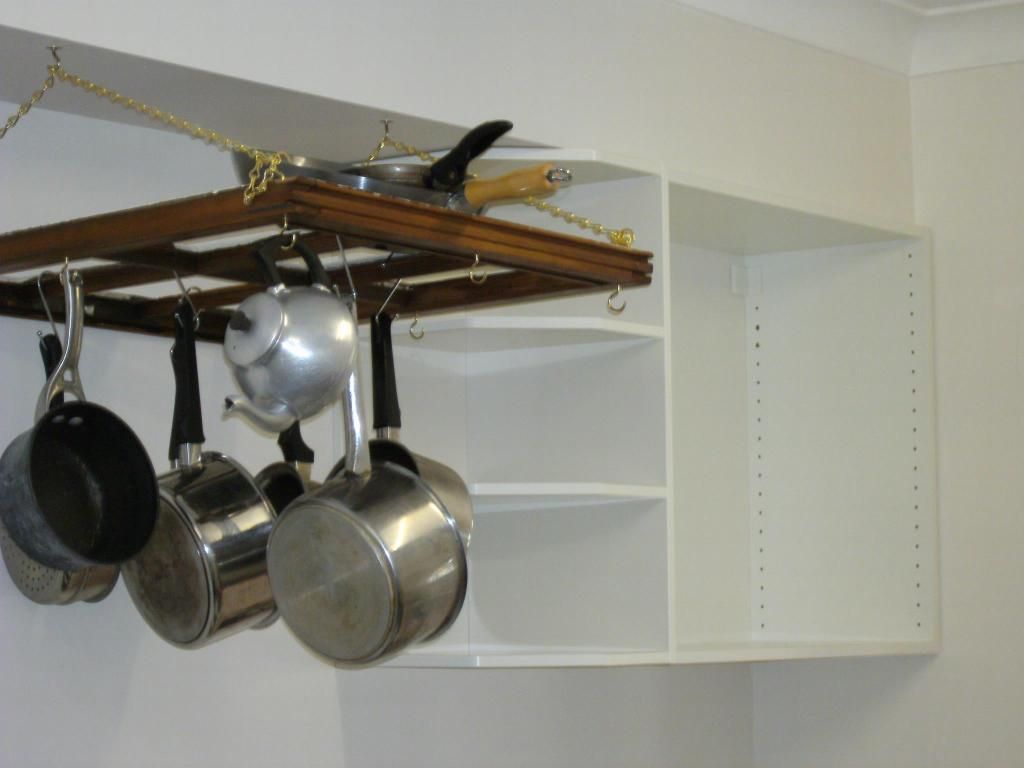
Our pot rack was made with a broken sash window that we picked up for free

Our blind and the matching rag rug were made using vintage sheets from the op-shop.  And the tiles/splashback in our kitchen we kept, updating them with a coat of tile paint.

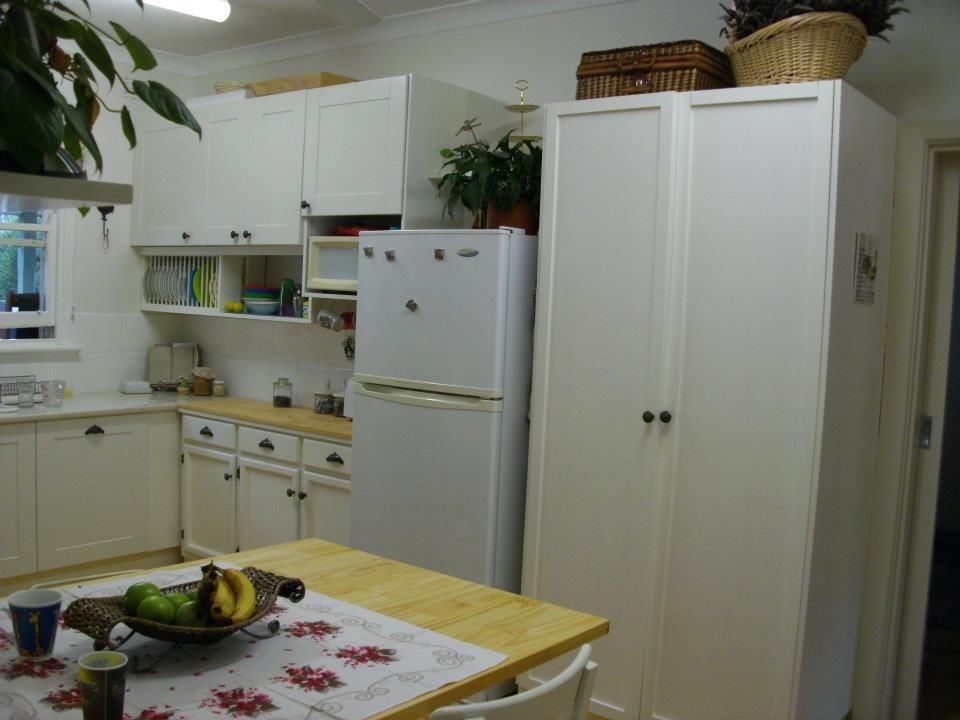
This sideboard was an ugly piece I picked up at an opshop for $65.  We painted it, added a new top and these vintage handles that I bought on ebay (you can see it in the kitchen below).

Our island bench was another solid wood op-shop find, $60.  We removed the doors from the cupboard, painted the bare shelf unit and added a timber slab to the top of it.  It is a home for all of my electrical appliances and a great place for family and/or friends to sit.  And the cork board on the wall (which was there before the renovation) was made with leftover cork tiles we found in our shed when we moved in here.

The 1970s spice rack on the wall next to the window was found in the op-shop, complete with jars for $5.  I painted it to match the kitchen and added new labels.

Our pantry was the original pantry in our kitchen, but it was a peach colour and plain flat laminex.  We painted it and added some timber trim and the old handles so it would tie in with the overall look.

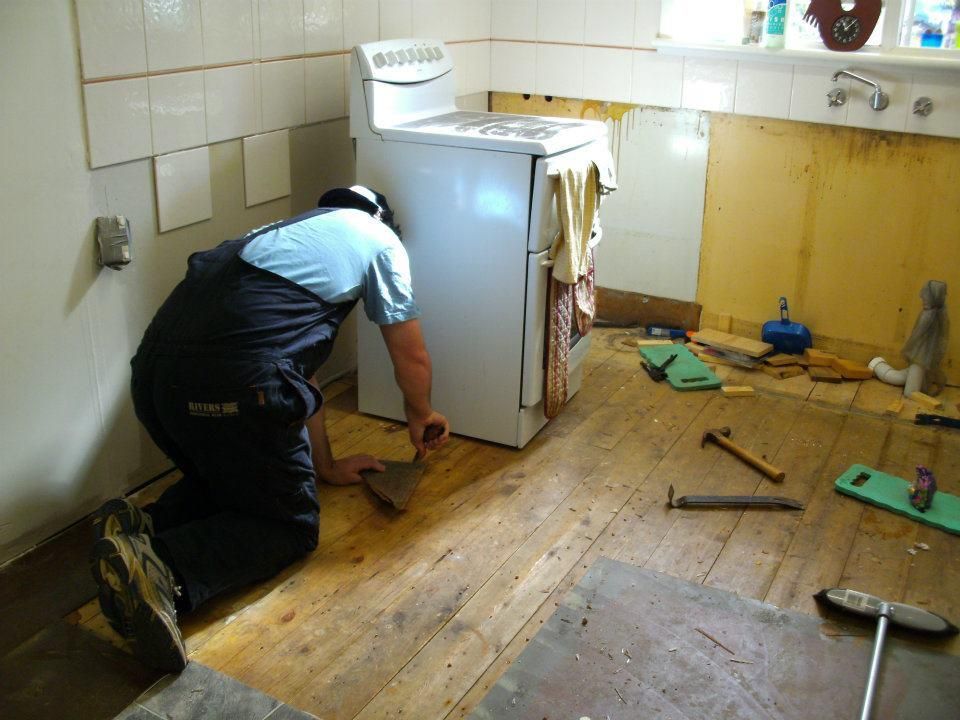
We were going to have new lino floor laid, but decided to work with what we had, pulling up the old lino and having our baltic pine floors sanded and varnished (see the beautiful finish above).

We also recycled items that we took out of the kitchen.  The old lino went to my mum and to the kids cubby house and the old kitchen cupboards became shed and laundry cupboards and will also be used in the brew shed and as a potting bench.

In addition, we chose to keep items that were fine in our old kitchen like the oven/hob, the window, fridge, etc - why replace things that don't need replacing?

The work we did on our kitchen was hard, but very satisfying.  I love knowing that many of the items in the kitchen had a life before.  The entire kitchen reno also came in well under our frugal budget and I love the result every day when I'm working in there.

You'll find lots of other recycling projects on my blog, and many more to come.
I'd love to here about your favourite recycling/repurposing projects too.

Wednesday, 6 June 2012

12 months of greening - April - Saving power

Rhonda over at Down to Earth posted today about Solar Power, so I thought I would follow on from her post and write about our April challenge in our 12 months of Greening, which was to cut our power use.

EcoSwitch
We've always tried to keep our power use down, heating and cooling only when really needed (and installing energy efficient options such as ceiling fans), keeping out draughts (including installing double glazed windows in one room that was a particular problem), adding extra ceiling insulation, using low power light globes and always washing with cold water.  But in a house that is 100% electric, it hasn't always been easy, and some of the power bills we've received over the years have been downright scary!  So in March and April we made some changes.  We installed an EcoSwitch for our TV/DVD/PVR/Wii/Stereo which is great and very user friendly, and we made the big decision to finally get our Solar hot water.  It had been a very big decision that we've toyed with for years, as our electric hot water service was still working fine, and it is very hard to throw away a perfectly working appliance and replace it with a very expensive new appliance.  But we decided to bite the bullet and just do it and decided just in time - handing over our deposit the day before the federal government axed the $1000 rebate!  (we have just received the rebate back - one of the last families to get it)

So having purchased the system, we excitedly awaited its arrival and installation, but it came with some serious drama.  The courier came with our system (3 solar panels and a 300L tank) on the back of a large truck, but he was on his own and had no means of getting it off the truck (?!?).  He asked me to help him (again ?!?), and to cut a long story short, ended up with the entire system falling off the truck onto him!  The courier got an ambulance ride, 2 broken ribs, a very serious broken nose and 8 stitches in his leg and our hot water service ended up smashed on the ground.
Our SHWS literally fell off the back of a truck :(
Eventually, a new hot water service arrived and with more drama from the plumber and electrician, it was finally installed.  So was it worth it?

We get our electricity bills monthly, and so have had two arrive since we got the system installed.  And the difference is A-Mazing!  In our April bill (which for the record was also a "no heating and cooling" month) our average daily use dropped from 24kWh for the same time in 2011 to 9kWh!!  And then again in the May we saw a drop from 28kWh per day to 12kWh!!  Of course this is brilliant for the environment (think of all those carbon emissions or black balloons!) but it also significantly reduces our power bills, and at this rate, we expect to have re-couped the cost of the solar hot water service in about 18months to 2years.

At the moment we can't afford to put on solar panels for power, but it is something that we will definitely be looking at doing in the future and keeping an eye out for good government incentives.  But for right now, I would declare April a successfully Green month!

Monday, 28 May 2012

Finished!

How good does a finished project feel?  In the first week of Autumn we started to pull out our old kitchen cabinets and now, in the final week of Autumn, we have put in the final piece of our "new" kitchen!


This bookshelf (made from scratch using mostly offcuts) sits in next to our oven, right behind my seat at the island bench.  It has ample room for my cookbooks, gardening books and the pile of scribbled and ripped from magazine recipes and is in just the right spot for moments taken with a cuppa to browse the books.  It also give valuable space next to the stove to put things.

I'm so proud of our kitchen.  Not only does it look and feel fabulous, but we made it!  We did nearly everything ourselves and were able to do it on a minimal budget and include a lot of recycled items in the design.

We also did it all in our designated time, actually finished it and barely argued all the way through the project! :)  I can genuinely say I loved working as a family on this project and the finished room truly feels like it is ours and is so peaceful and warm.

Now onto the next project......